Audio for video, solved
Sound design and music creation made easy

Sound design and music creation made easy


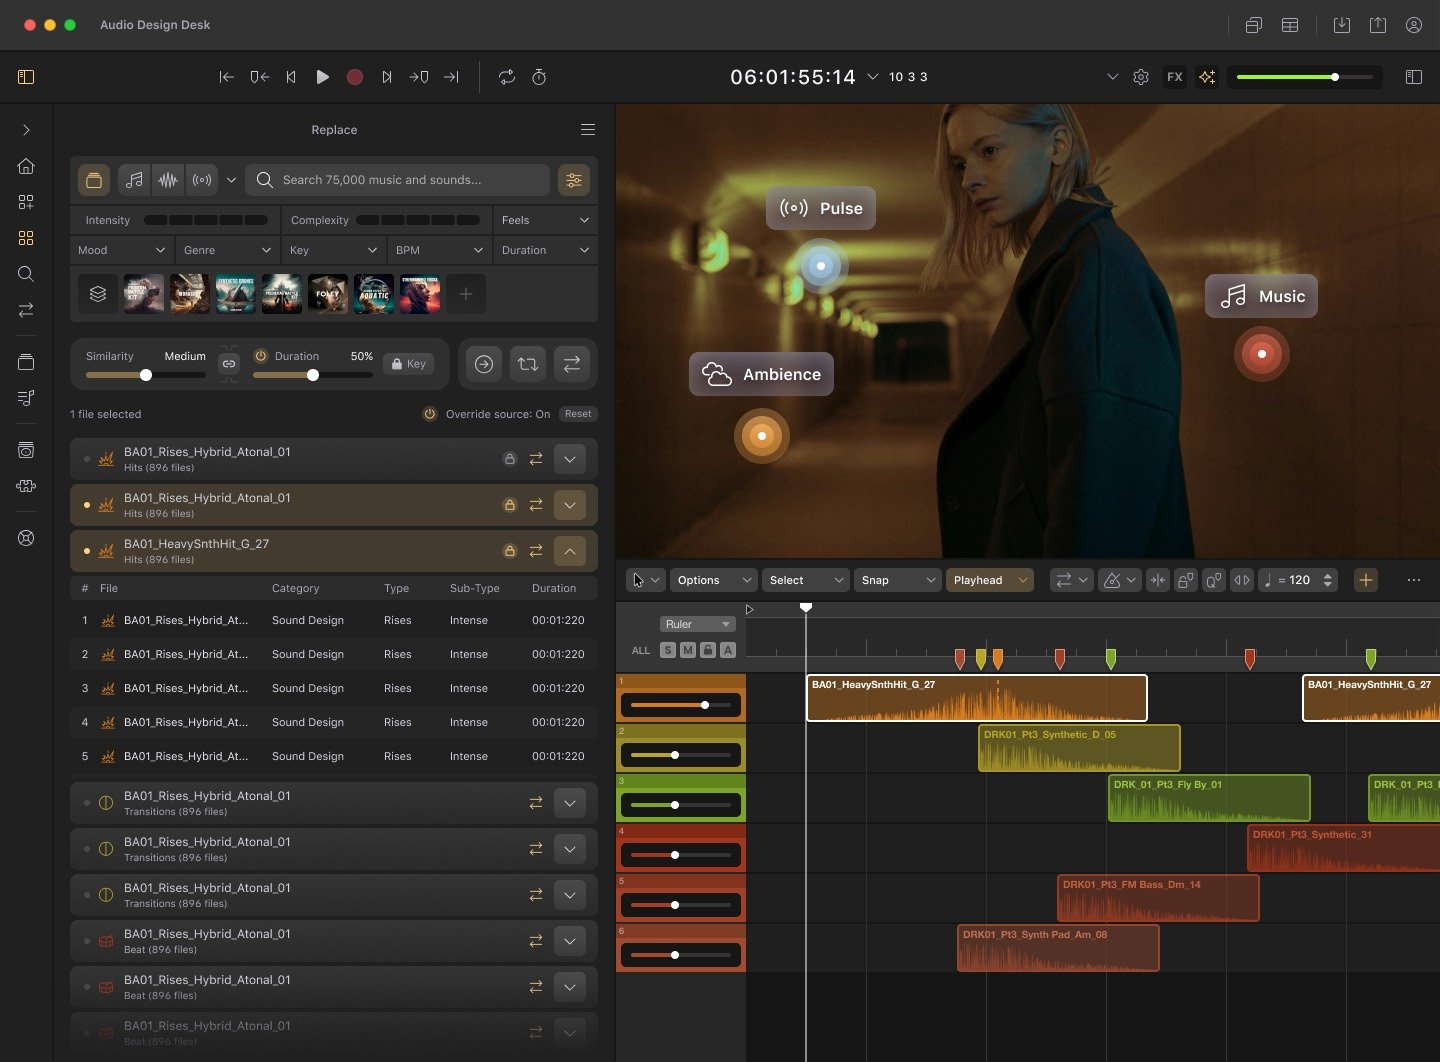
Create rich layers of audio for video in a fraction of the time. AI-powered search retrieves the perfect audio files from a 70,000+ file library of high-quality sfx & music. Smart swap makes it easy to iterate and find the right samples, without repositioning each trigger. (Requires macOS 11.0 or newer.)
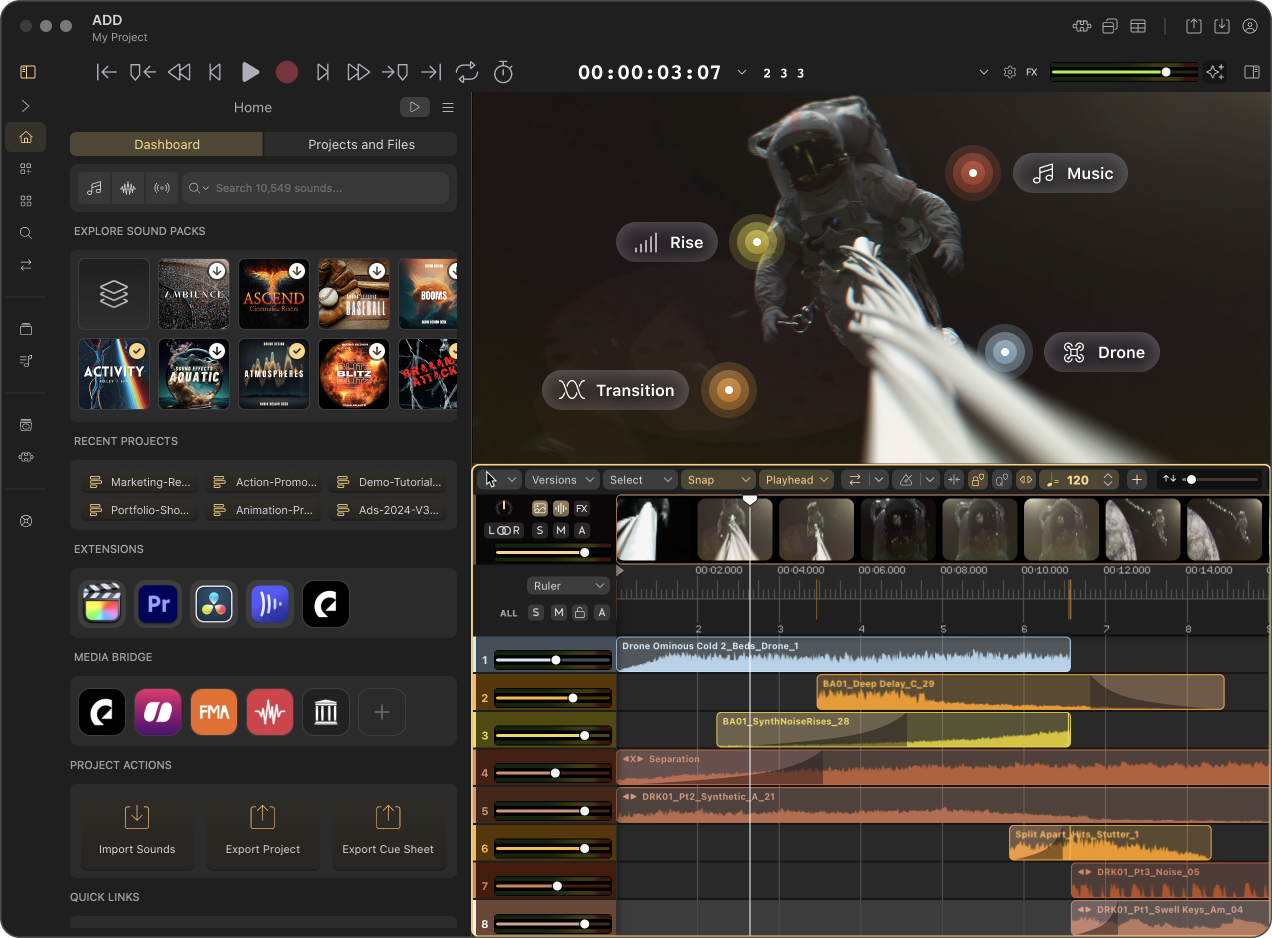
Explore Audio Design Desk’s new and improved interface in version 2.0. We’ve introduced better sound library navigation, with a detailed metadata view and cue sheets to review project audio files at a glance. Each sound has a pool of replacement possibilities, making it easier to find and swap in new files using trigger presets. Set up and save your workspace configurations to retrieve them on any future project. (Requires macOS 11.0 or newer.)

Dark Electronic
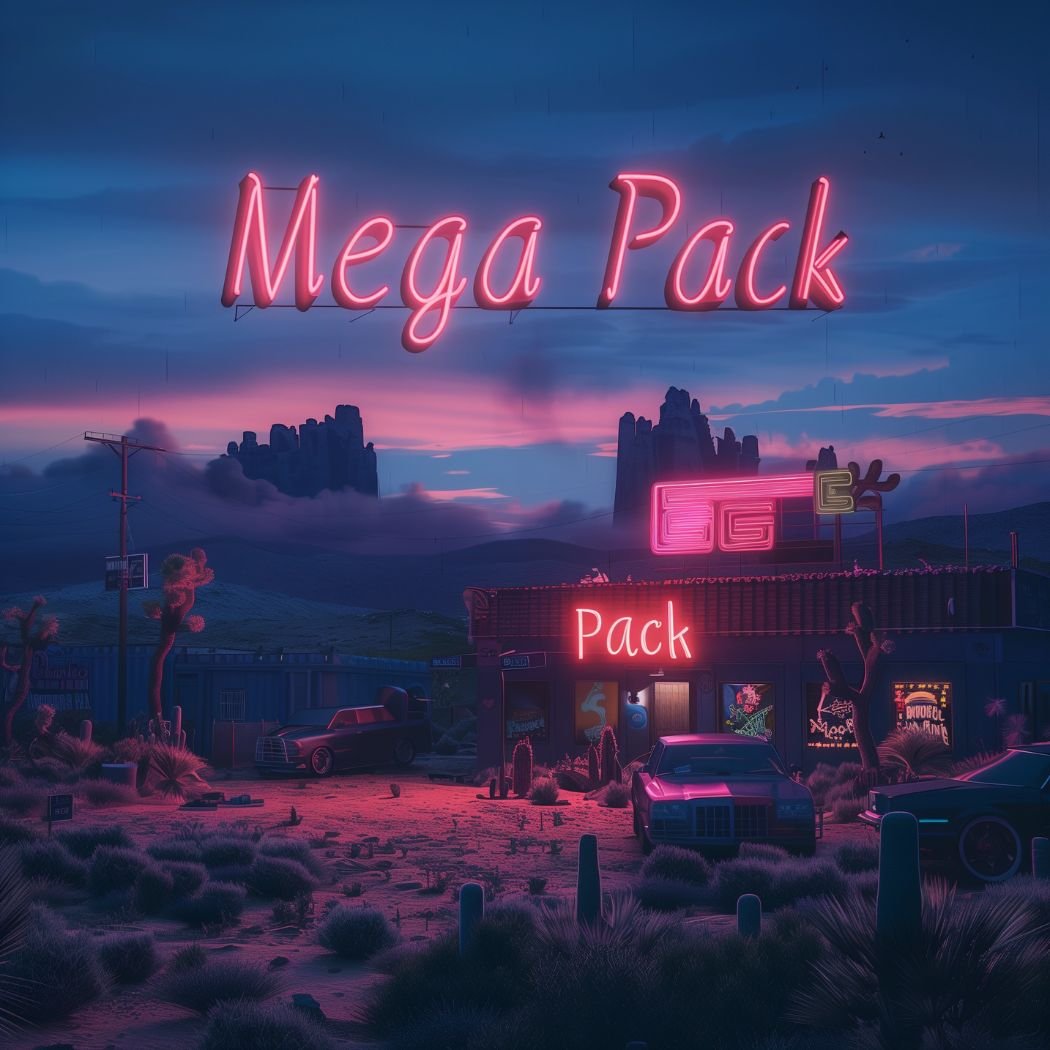
Mega Pack
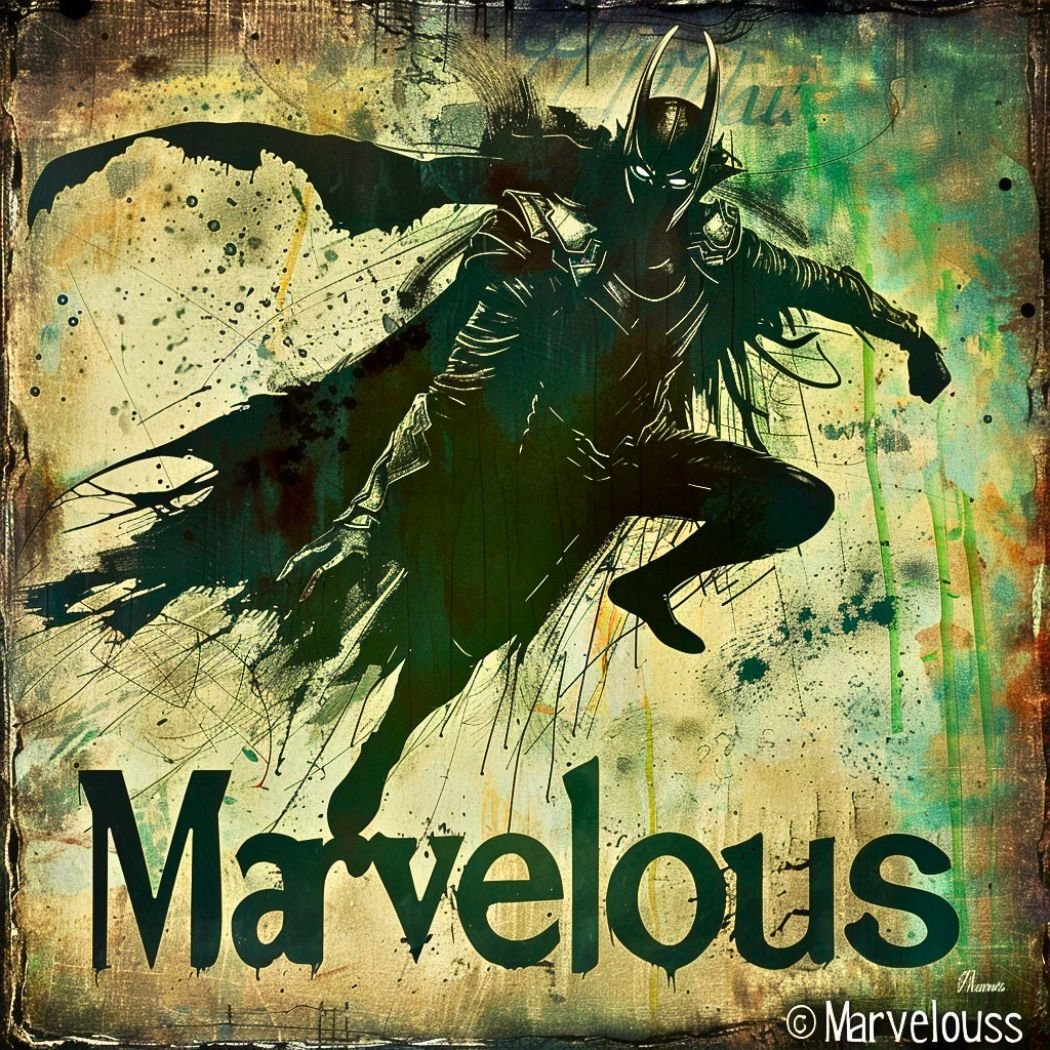
Marvelous
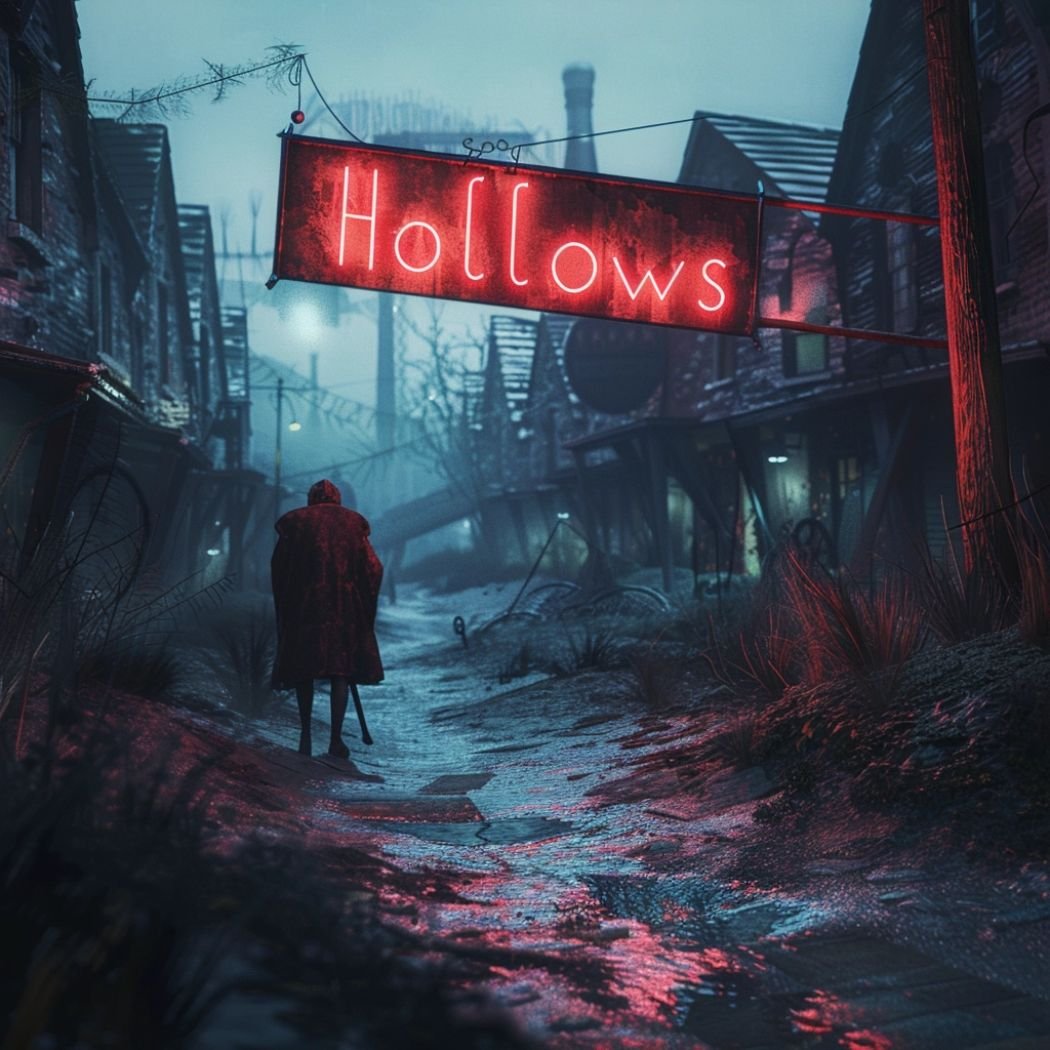
Hollows

Haunted
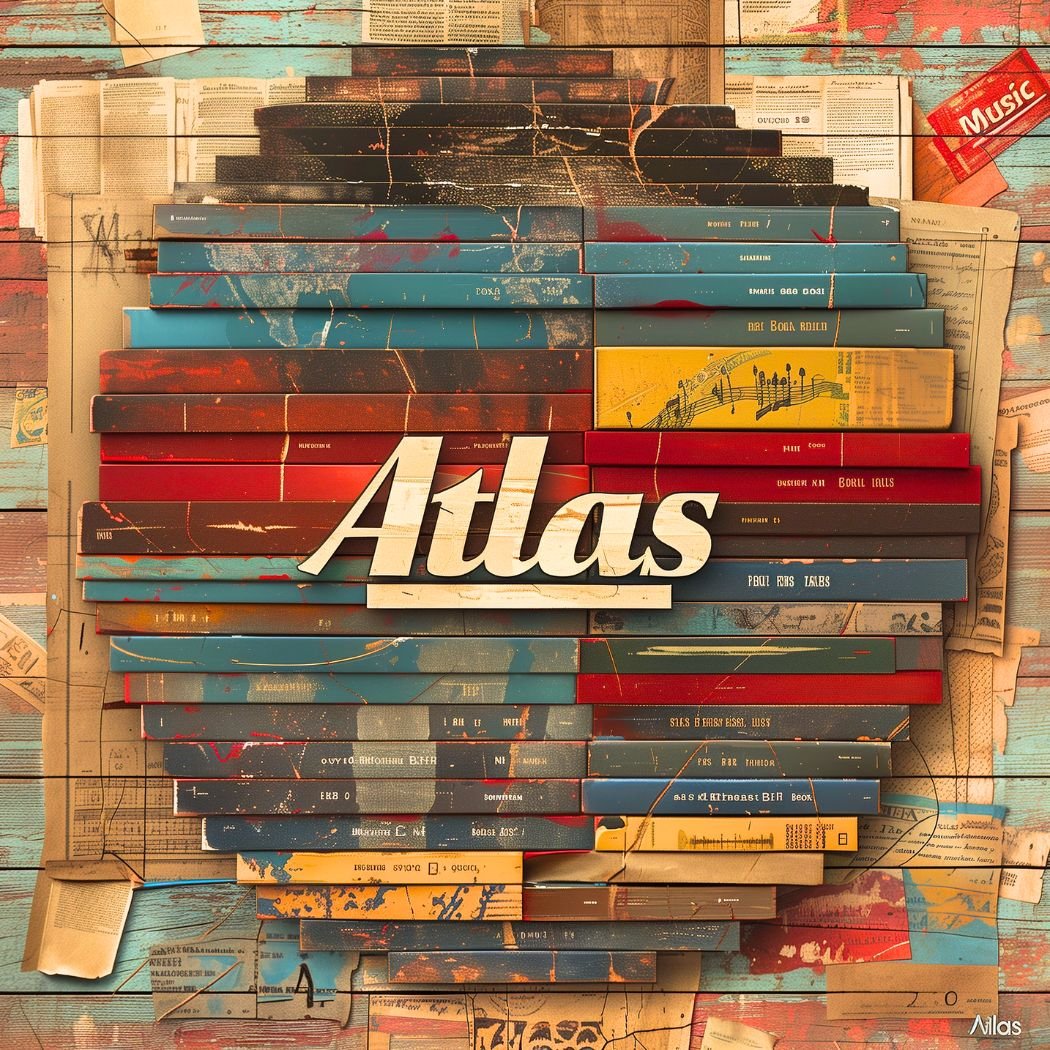
Atlas Music
Audio Design Desk offers a massive library of royalty-free sound effects, loops, and music cues. Browse the in-app marketplace and stay up-to-date on our sound packs!
$4.99/mo
MOST POPULAR
$29.99/mo
$14.99/mo
Learn about sound effects and grab some freebies!

Get the latest updates and articles in our blog.


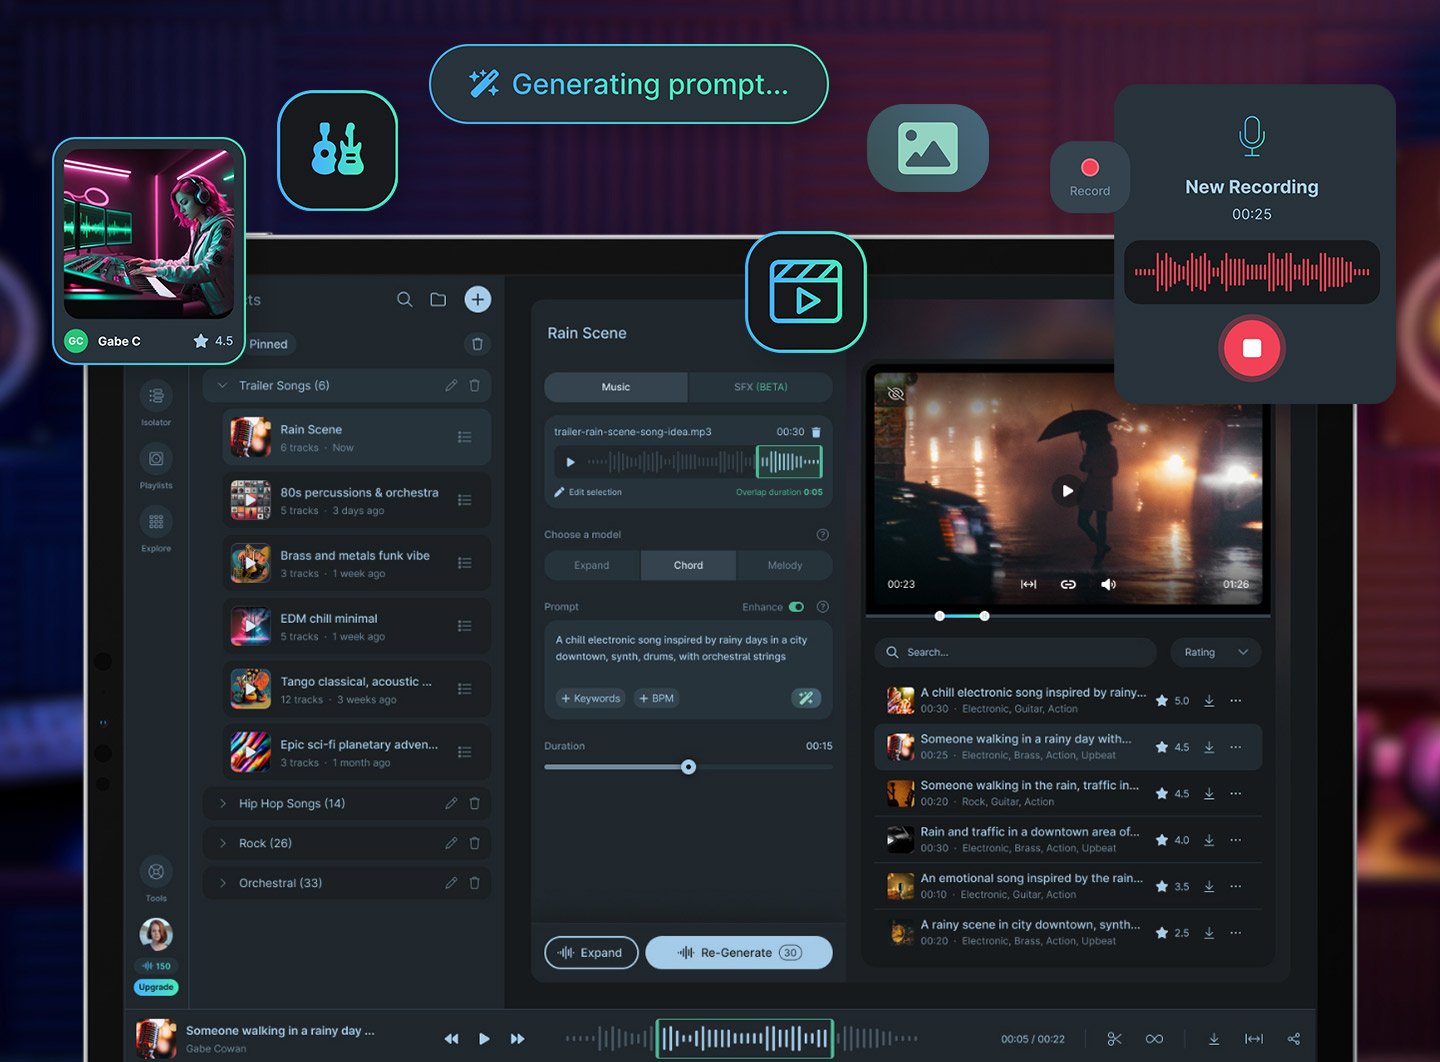
Create background music and long form soundtracks in any genre with SoundGen. Describe what’s happening in a scene and SoundGen will create music that matches the style. Musicians can upload melody files or initial song ideas to generate complete ideas of any length.